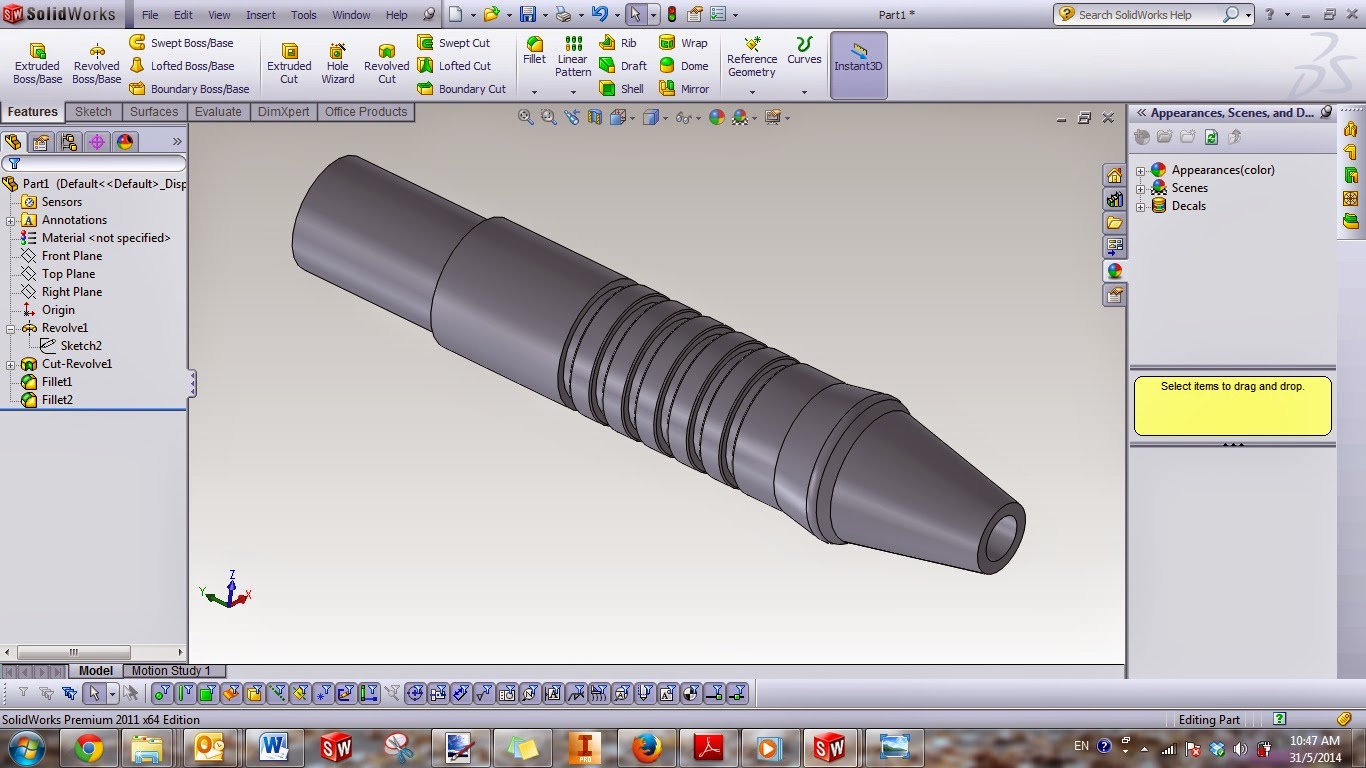
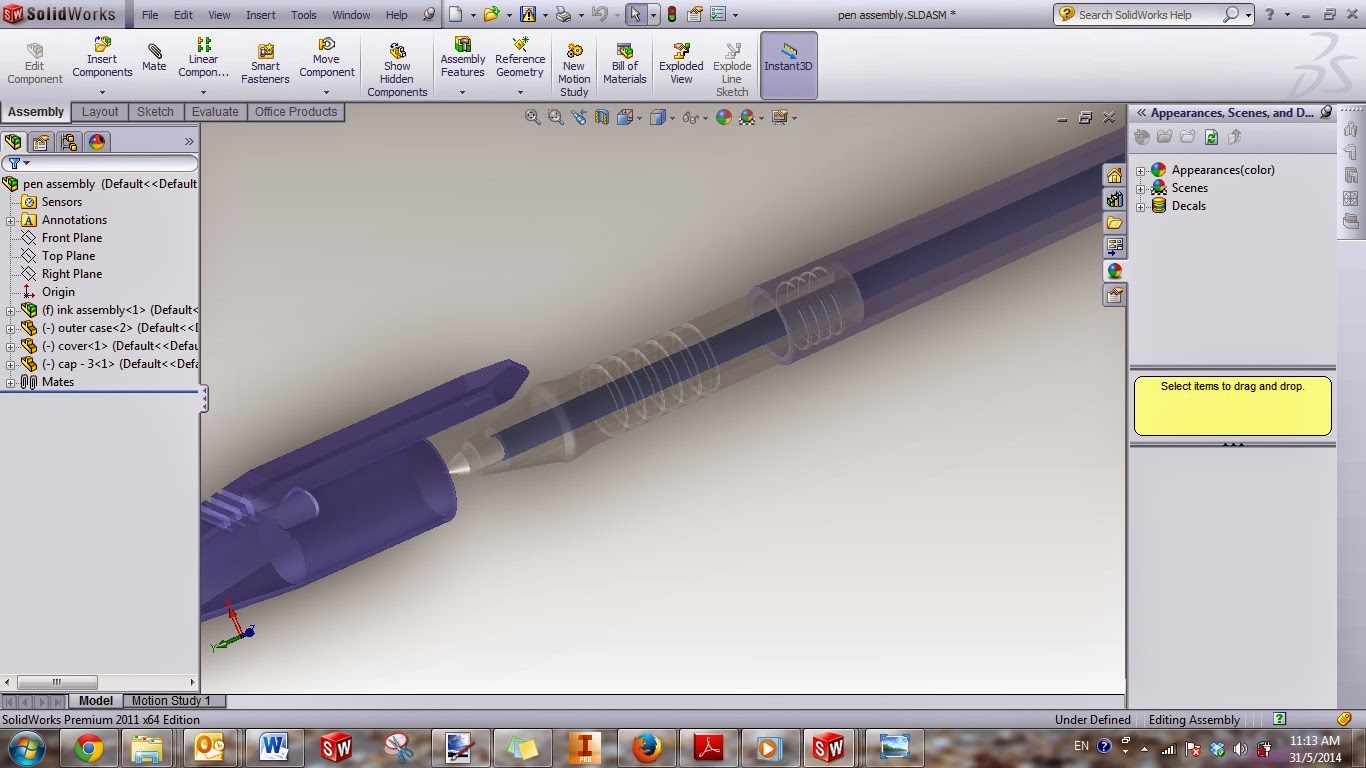
I chose to make the tutorial only for one part as you can learn how to use several features in this tutorial.
Skill learned:
Final Product:


Tutorial:
- Open up SolidWorks > New > Parts.
- On the Model Tree, right click on the Front Panel, and select Sketch.

- Select the arrow besides line, and select Centerline. Draw a vertical line passing through the origin.

- Select line, and draw a shape of object that looks like shown below.

- Select Smart Dimension, and give the dimensions as shown below. Note that all dimensions against the Centerline are all for diameter, instead of radius. Read here for a note of how to give diameter instead of radius on revolve.


- Click Insert > Boss/Base > Revolve. Or alternatively, click on the Features Ribbon, and select Revolved Boss/Base. You should see a preview as shown below. Click the green thick button (OK) to confirm.

- Right click on Front Plane, and select Sketch.
- Repeat step 3, draw a vertical Centerline passing through the origin. Draw 6 rectangular box as shown below.

- Hold down Ctrl button, and select all 6 inner edge of the rectangle. On the left dialog box, select Colinear and Equal.

- Give the dimension of the rectangular box as shown below. Note that the spacing of the box (1.5 mm) is the same for all.

- Click Insert > Cut > Revolve. Or alternatively, click on the Features Ribbon and select Revolved Cut. A preview should appear. Select the green thick button (OK) to confirm.

- On the Features Ribbon, select Fillet. On the left dialog box, adjust the radius to 1 mm, and select the edge shown below.

- Add fillet on the edges of the revolved rectangle, adjust the radius to 0.1 mm and select all the edges as shown below. Note that you can select the surface (highlighted on the rightmost selection) instead of selecting the edges one by one. Read here for explanation of the selection.

- Congratulation! You have completed your model!